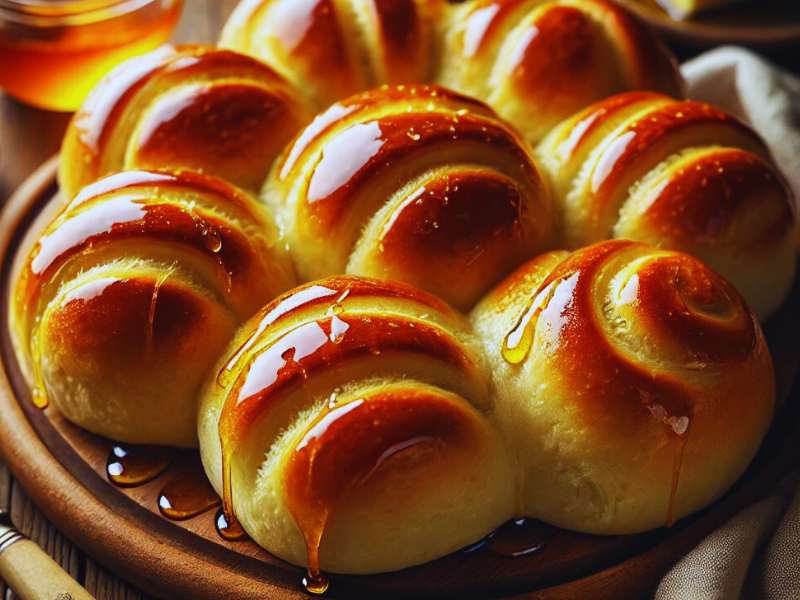
If you’ve ever wanted to make soft, fluffy, and slightly sweet honey yeast rolls at home, you’re in the right place! This recipe is easy to follow, requires simple ingredients, and results in the most delicious rolls that are perfect for any meal. Whether you’re a beginner or an experienced baker, these honey yeast rolls will become a family favorite. Let’s dive into the step-by-step process.
Table of Contents
Ingredients
For the Dough:
- 3 ¾ cups all-purpose flour
- 1 packet (2 ¼ tsp) active dry yeast
- 1 cup warm milk (about 110°F)
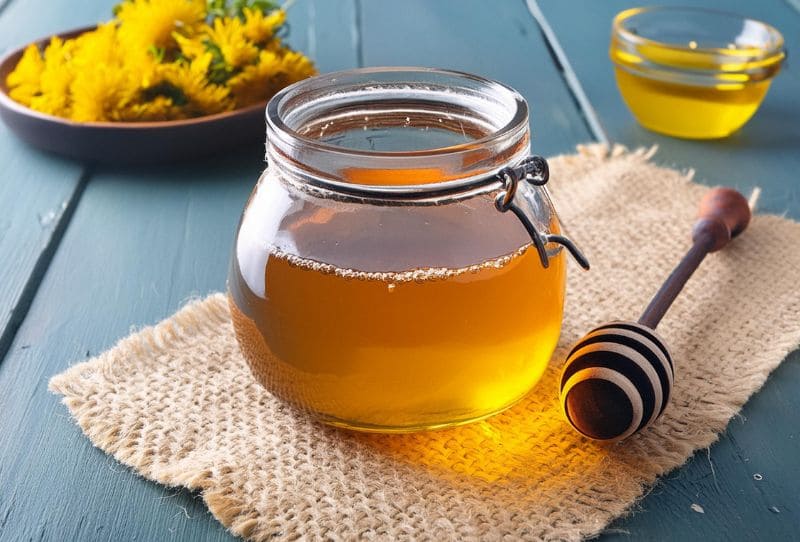
- ¼ cup honey
- 1 large egg
- 4 tbsp unsalted butter (softened)
- 1 tsp salt
For the Honey Butter Glaze:
- 2 tbsp honey
- 2 tbsp unsalted butter (melted)
Instructions
Step 1: Activate the Yeast
In a small bowl, mix warm milk and honey. Add the yeast and stir gently. Let it sit for 5-10 minutes until it becomes foamy. This means the yeast is active and ready to use.
Step 2: Prepare the Dough
In a large mixing bowl, combine flour and salt. Add the softened butter, egg, and yeast mixture. Mix everything together until a sticky dough forms.
Step 3: Knead the Dough
Transfer the dough to a lightly floured surface and knead for 8-10 minutes until it becomes smooth and elastic. If the dough is too sticky, sprinkle a little more flour while kneading.
Step 4: First Rise
Place the dough in a greased bowl and cover it with a damp cloth. Let it rise in a warm place for 1-1.5 hours, or until it doubles in size.
Step 5: Shape the Rolls
Once the dough has risen, punch it down to remove air. Divide it into 12-15 equal pieces and shape them into smooth balls. Place them in a greased baking pan, leaving some space between each roll.
Step 6: Second Rise
Cover the rolls with a cloth and let them rise again for 30-45 minutes, until they puff up.
Step 7: Bake
Preheat your oven to 375°F (190°C). Bake the rolls for 15-18 minutes, or until they turn golden brown on top.
Step 8: Add the Honey Butter Glaze
While the rolls are baking, mix the melted butter and honey for the glaze. As soon as the rolls come out of the oven, brush them with the honey butter mixture for extra flavor and shine.
Step 9: Serve and Enjoy!
Let the rolls cool slightly before serving. They are best enjoyed warm with butter or extra honey on the side!
Serving Suggestions
- With Breakfast: Serve warm with butter, jam, or honey for a delicious start to your day.
- As a Side Dish: Pair them with soups, stews, or roasted meats for a comforting meal.
- For Sandwiches: Slice them in half and use them as soft sandwich buns.
- Sweet Treat: Drizzle with extra honey or top with cinnamon butter for a delightful snack.
Tips for Perfect Honey Yeast Rolls
- Make sure the milk is warm (not hot) to properly activate the yeast.
- Knead the dough well to develop a soft and fluffy texture.
- Let the dough rise fully for light, airy rolls.
- Brushing the rolls with honey butter right after baking gives them a beautiful shine and extra sweetness.
FAQs
1. Can I use instant yeast instead of active dry yeast?
Yes! If using instant yeast, you can mix it directly into the dry ingredients without proofing it in warm milk.
2. Can I make the dough ahead of time?
Yes! After the first rise, you can refrigerate the dough overnight and bake the rolls the next day.
3. Can I use whole wheat flour instead of all-purpose flour?
Yes, but the rolls may be slightly denser. Try using half whole wheat and half all-purpose flour for a balance of flavor and fluffiness.
4. How do I store leftover rolls?
Store them in an airtight container at room temperature for up to 3 days, or freeze for longer storage.
5. Can I make these rolls dairy-free?
Yes! Substitute plant-based milk and vegan butter to make them dairy-free.
Enjoy your homemade honey yeast rolls—soft, buttery, and full of flavor!
If you found this recipe helpful, don’t forget to share it with your friends and family. Happy baking! ✨