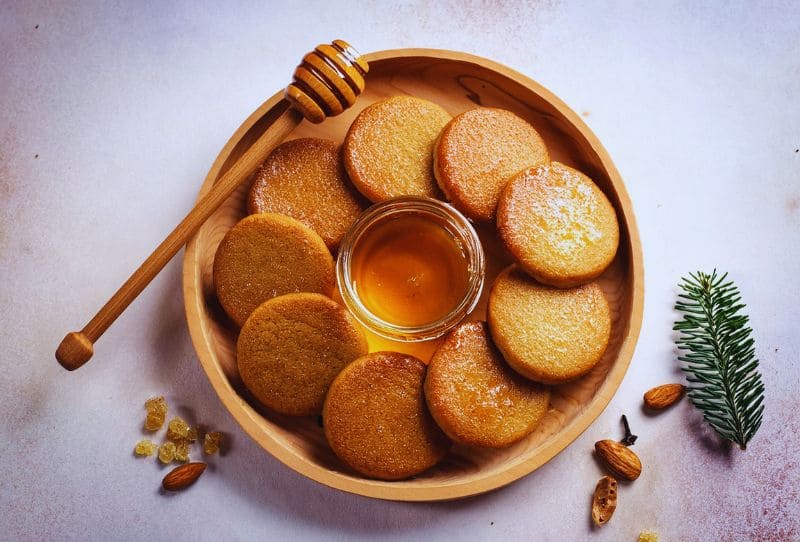
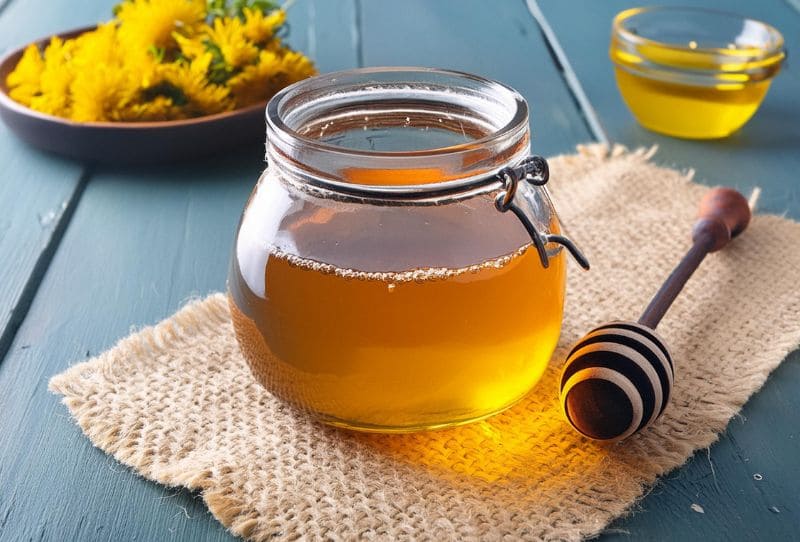
If you’re craving something sweet and homemade, honey cookies are the perfect treat. These cookies are soft, chewy, and have a lovely natural sweetness from the honey. Whether you’re a baking beginner or a seasoned pro, this recipe is easy to follow and guarantees delicious results.
Table of Contents
Ingredients You’ll Need
Before we begin, let’s gather all the ingredients:
- Butter: 1/2 cup (softened)
- Sugar: 1/2 cup
- Honey: 1/4 cup
- Egg: 1 large
- Vanilla Extract: 1 teaspoon
- All-Purpose Flour: 2 cups
- Baking Soda: 1/2 teaspoon
- Salt: 1/4 teaspoon
- Ground Cinnamon: 1/2 teaspoon (optional, but it adds a nice flavor)
Instructions:
Step 1: Cream the Butter and Sugar
Start by preheating your oven to 350°F (175°C). In a large mixing bowl, beat the softened butter and sugar together until the mixture is light and fluffy. Using an electric mixer, this will take about 2-3 minutes.
Step 2: Add Honey, Egg, and Vanilla
Next, add the honey, egg, and vanilla extract to the butter-sugar mixture. Beat everything together until it’s well combined. The honey will add a beautiful golden color to the mixture.
Step 3: Mix the Dry Ingredients
In a separate bowl, whisk together the all-purpose flour, baking soda, salt, and ground cinnamon (if you’re using it). Make sure these dry ingredients are well mixed to ensure even distribution in your dough.
Step 4: Combine Wet and Dry Ingredients
Slowly include the dry ingredients into the wet mixture, stirring until a dough forms. The dough should be soft, yet not sticky. If it is too sticky, you can add a little more flour.
Step 5: Shape the Cookies
Line a baking sheet with parchment paper. Using a spoon or a cookie scoop, drop small balls of dough onto the prepared baking sheet. Leave about 2 inches between each cookie, as they will spread during baking.
Step 6: Bake the Cookies
Place the baking sheet in the preheated oven and bake for 8-10 minutes, or until the edges are golden brown. The center of the cookies might look slightly undercooked, but they will firm up as they cool.
Step 7: Cool and Enjoy
Once the cookies are ready, remove them from the oven and let them cool on the baking sheet for a few minutes before transferring them to a wire rack to cool completely. Enjoy your homemade honey cookies with a glass of milk or tea!
Tips for Perfect Honey Cookies
- Use Quality Honey: The flavor of your honey will shine through in these cookies, so choose a good-quality honey that you enjoy.
- Don’t Overbake: To keep the cookies soft and chewy, avoid overbaking them. The edges should be slightly golden.
- Add Some Extras: If you want to get creative, you can mix in some chopped nuts, chocolate chips, or dried fruit into the dough.
FAQs
1. Can I replace the honey with another sweetener?
- Yes, you can replace honey with maple syrup or agave nectar in equal amounts. However, this may slightly change the flavor and texture of the cookies.
2. How should I store honey cookies to keep them fresh?
- Store your honey cookies in an airtight container at room temperature. They should stay fresh for a week. You can freeze the cookies for up to three months for longer storage.
3. Can I add other flavors or ingredients to the honey cookies?
- Absolutely! You can add ingredients like chopped nuts, chocolate chips, or dried fruit to the dough. Spices like nutmeg or ginger also pair well with honey.
4. Can I make these cookies gluten-free?
- Yes, you can make these cookies gluten-free using a gluten-free all-purpose flour blend instead of regular flour. Ensure that the blend contains xanthan gum for the best texture.
5. How do you know if the cookies are fully baked?
- The edges of the cookies should be lightly golden brown, and the centers may look slightly undercooked. This is normal, as the cookies will continue to set as they cool. Overbaking can make them too crispy.
Conclusion
These honey cookies are a delightful treat that’s perfect for any occasion. Whether you’re making them for a special event or just to satisfy a sweet tooth, this recipe is sure to become a favorite in your kitchen. Happy baking!


